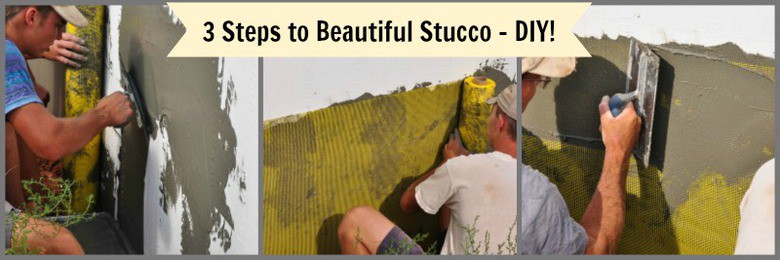
3 Steps to Beautiful Stucco - DIY!
I love the look of stucco! Here are 3 steps to beautiful Stucco - DIY!
For a chronological listing of our ICF building see ICF Building Index.
Especially since we are going for the "Tuscan" look in our vineyard home, stucco is what I want!
Real stucco is applied in multiple layers and is very labor intensive. But, we have found something that gives the same look as stucco but is more durable and easy to apply - great for do-it-yourself'ers like us. It is the Exterior Insulation Finishing System or EIFS for short.
For a bit of background, we have done several building projects using insulated concrete forms (ICF) including our house overlooking the vineyard, filter house, barn, and greenhouse. You can find a chronological index of these projects in the ICF Building Index tab in the menu bar.
We did a basement expansion in preparation for building the main living area upstairs using the ICF blocks. Now the finishing touches will be the EIFS coat.
3 steps to Apply EIFS
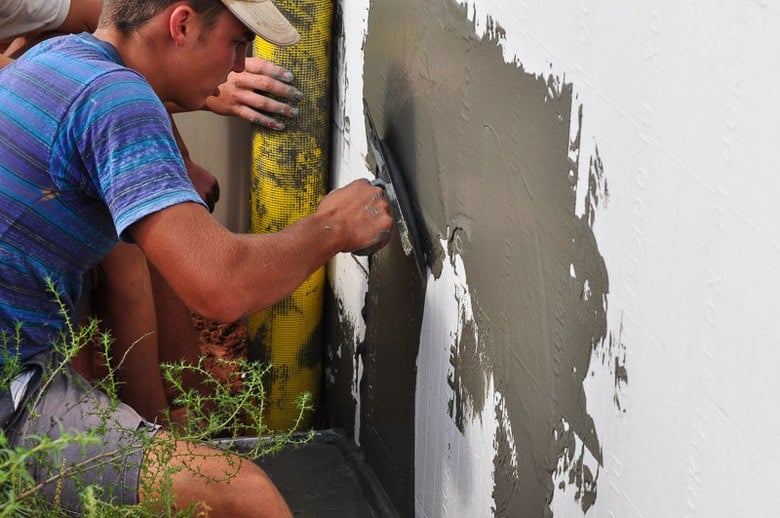
1. Base Coat
After cleaning off any dirt or dust on the ICF walls by sweeping them with a broom, the base coat which is a polymer modified cement is applied. It is a mix of cement, fine sand and a polymer which adds strength and prevents cracking. The base coat is applied in a thin 1/8 inch coat over the styrofoam blocks using a trowel.
2. Fiberglass Mesh
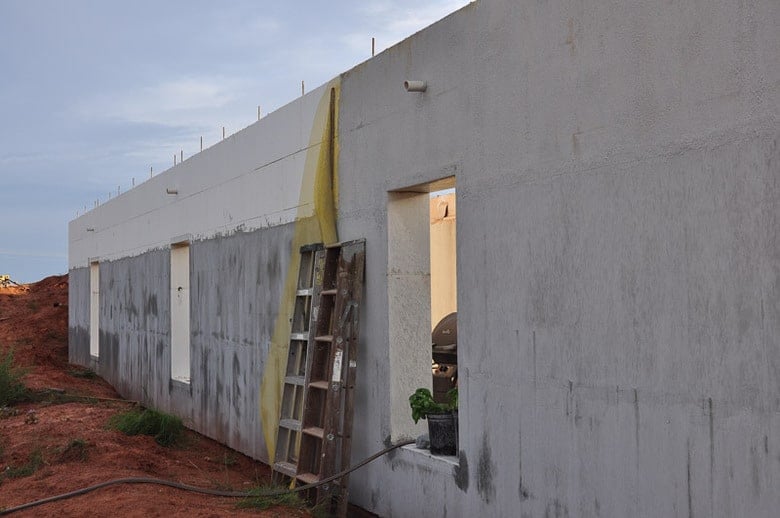
A bright yellow fiberglass mesh is embedded in the wet cement - yellow is my favorite color but, it is bright even for me!
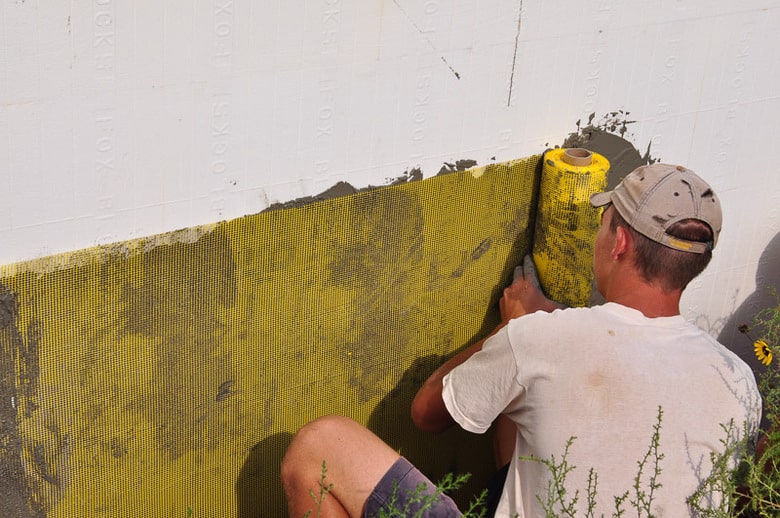
The trowel is used to press and smooth the concrete over the mesh covering it. The mesh is 3 feet wide. One person holds the roll of mesh to the wall while another presses it into the cement.
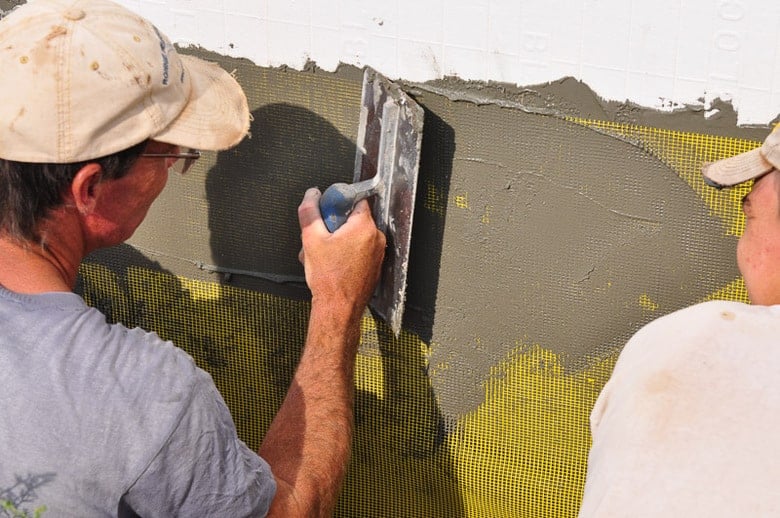
After the mesh is completely covered in cement, a wet sponge trowel is used to smooth the surface in preparation for the top coat.
The color of the finished base coat is grey - but not for long - that is the next step! In the photo below, you can see where progress was stopped by the rain!
3. Acrylic Top Coat
The final coat is the acrylic top coat. It not only gives the desired color but is waterproof. Our color will be pale yellow - remember, yellow is my favorite color!
With all the rain we are having, the yellow top coat is not yet done - check back for the finished look of the basement! But, if you are like me and are impatient, just wanting a sneak peek, be sure to check out the filter house or barn!