Butchering A Cow
“Butchering a Cow” might sound like a step-by-step tutorial, but I really just want to share with you how we butchered our steer Brisket (while encouraging you to also branch out beyond your comfort zone).
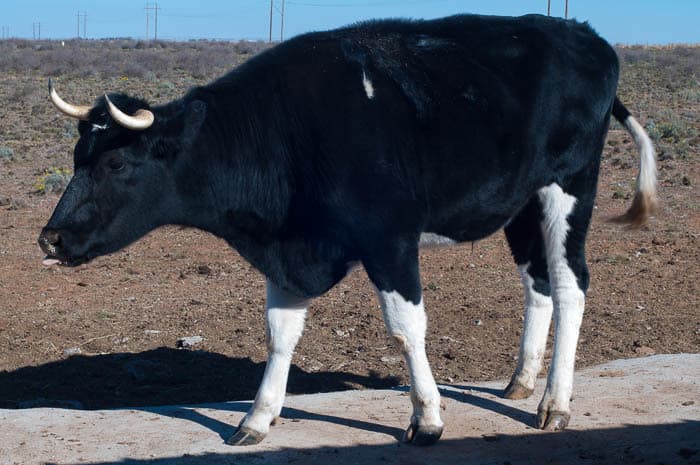
We purchased Brisket when he was a few days old from a local dairy (and steer-ified him soon thereafter). As his name implies, we considered him not as a pet but future meat for our table. Last week, that happened – Brisket was re-located to our freezer.
Now, before I go too far, I want you to know that I took lots of photos and had trouble deciding which ones to show you! Those selected will hopefully help you get an idea of the actual process we went through. The described event is not something we dream about nor relish, but our farm life has become very practical, very real and a million miles away from the Douglas’s and Green Acres. We have taught our children to realize that not all animals are pets and there is a cost for everything. They know that most cows are raised for milk and meat – hamburger tastes delicious, but it is because the cow is no more! It is important to be reminded, in our society of instant gratification, that there is more to our food than the sanitized, FDA approved packages on the shelf at the local grocery store.
The Process
When we butchered our first steer, I had purchased the book from my affiliate partner, Basic Butchering of Livestock and Game as a resource. Then, it proved to be a life saver (not the cow’s though). So, we used it again. Last week was our first real freeze here (it got down to 23° F) and hovered in the 50’s during the day. Besides being good for curing the meat, those temperatures killed off most of the flies and then kept the survivors away while we were butchering. We set aside two days for the whole process and as it turned out, each day was about 4 hours of work – this is half the time it took us the first time!
My job the first day was to keep up with where we were in the book and direct. Someone has to do it 😉 To begin with, Brisket was shot in the head, suffering apparently no pain. Not only is a quick death important from the humane sense but also for meat quality. If the animal suffers or is fearful, adrenaline is released causing an unpleasant taste in the meat. Once we were certain Brisket was dead (who wants to tango with a 1000+ lbs cow?), his neck was cut to allow the blood to drain while he was transported by backhoe to our work spot.
Lifting the Carcass
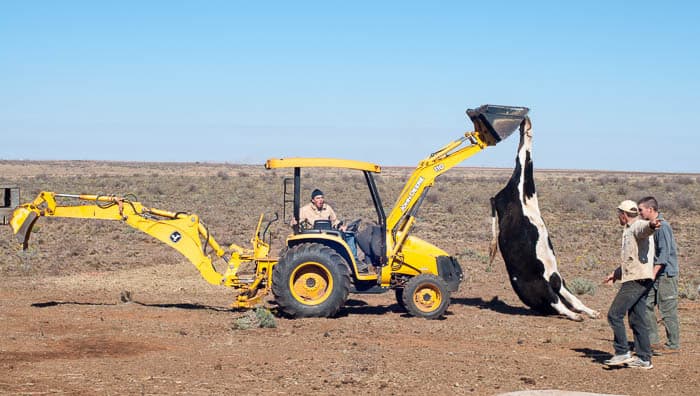
In case you are wondering, up to this point, the other cows were kept in the cow palace (aka milking parlor) and fed grain to keep them calm. Especially Emme, who had been so emotional about selling Buttercup!
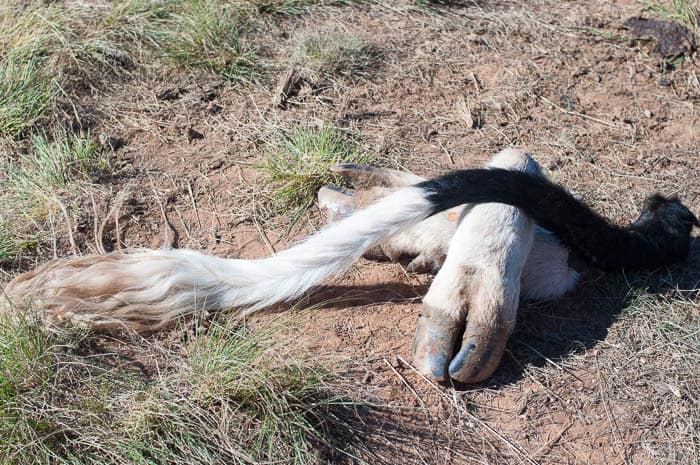
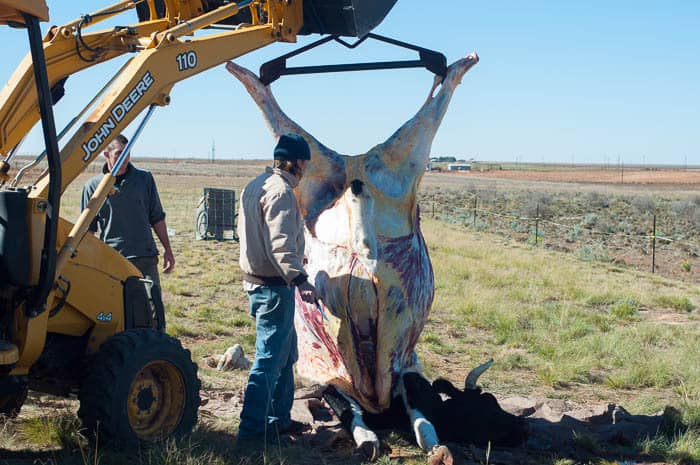
The process of hanging such a large carcass is quite a feat. Speaking of feet, the boys kidded about skinning off and tanning Brisket’s tube socks! In order to raise the carcass completely, the hind legs were skinned and the hoofs cut off. No tube socks this time.
Skinning the Carcass
You can see the hook we used as a singletree skewered through “below” the ankle. As the carcass is re-raised, the hide is skinned off.
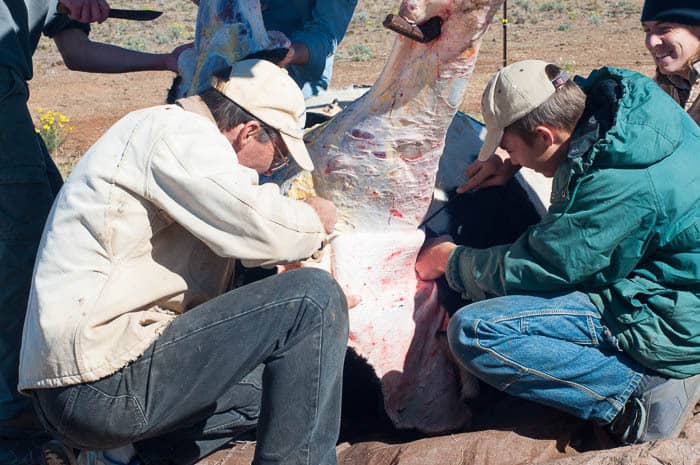
Cleanliness is very important and you don’t want the skinned meat to touch the ground. We did this part over a tarp.
Dealing with the Entrails
Also, as the carcass is raised, the entrails must be dealt with. After the killing, this is probably the most stressful part. Besides all the normal guts, a cow has a rumen. This is where the cow ferments its food – this is one fermentation you don’t want to smell either. So care must be taken not to puncture the rumen or intestines. Actually, the rumen sack is much tougher than I imply, but the thoughts of it popping and spewing its contents all over you and the meat – well, NASTY!
You can see the sack which includes the rumen bulging out, and it kept bulging and bulging because…
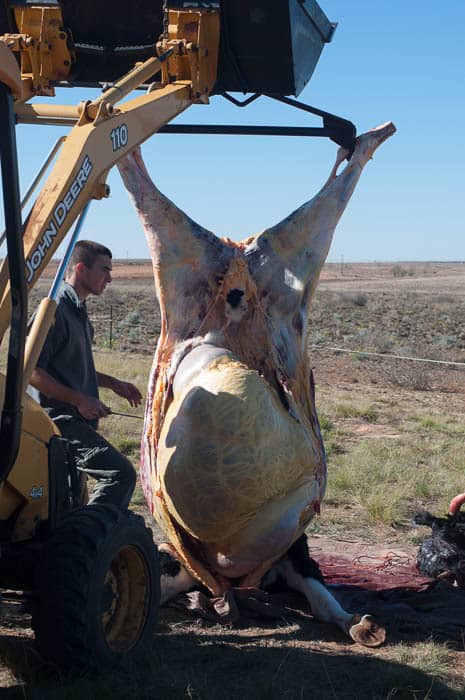
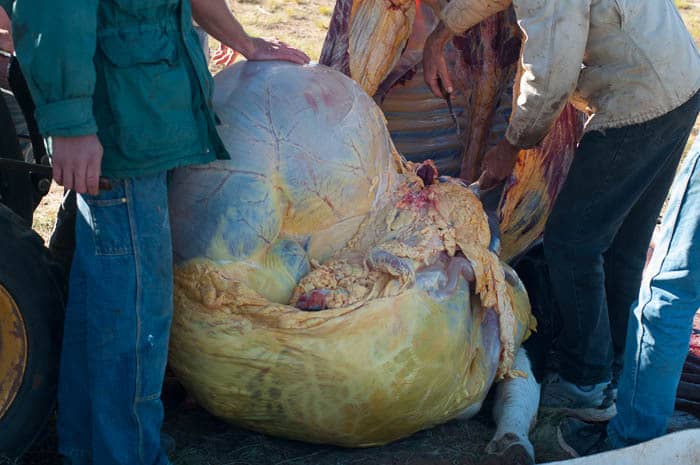
A farmer neighbor had given us some peanut hay which the cows absolutely loved! We realized that even after Brisket was dead, the hay kept fermenting in his rumen because the natural bacteria therein were not dead too. We got nervous that it might explode, but thankfully it didn’t. Once completely loosened, the innards literally rolled onto the ground in a nice sack.
Dissecting the Organ Meat
Next, to dissect the organ meats. You can see below the lungs still attached inside – to the left of John’s hand and the liver below and to the right of his hand.
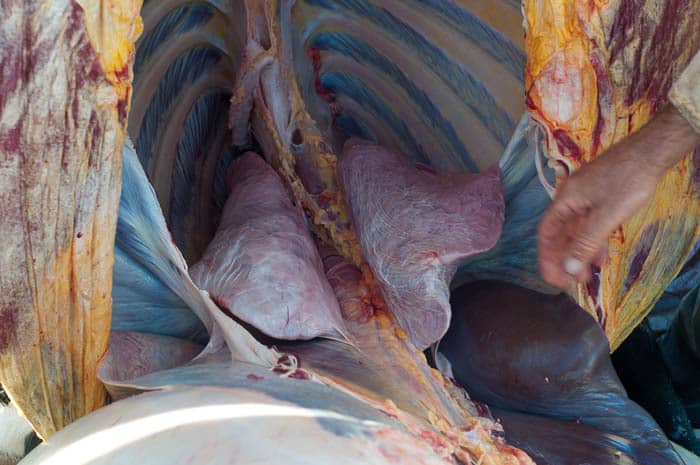
We gave the lungs to the dogs but we did eat the heart – Heart Kebobs are delicious!
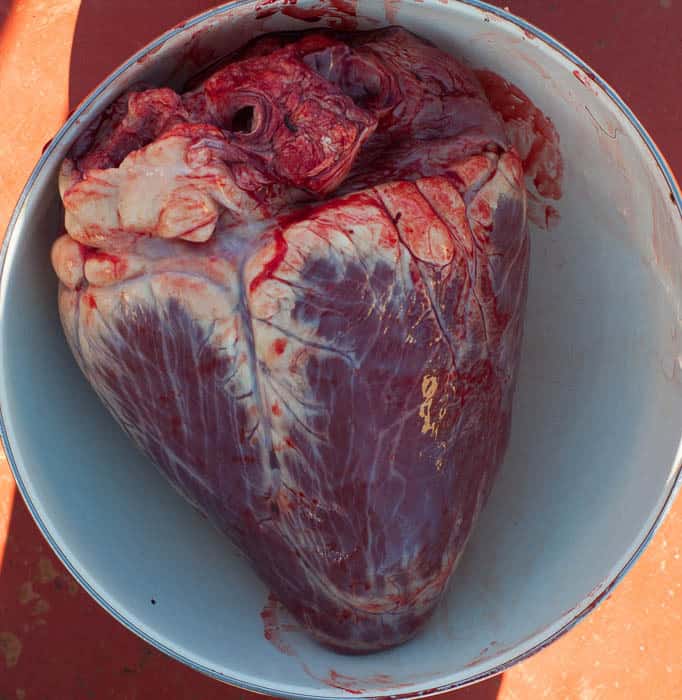
The heart weighed about 6 pounds and the liver was 14 pounds!
Hanging the Meat
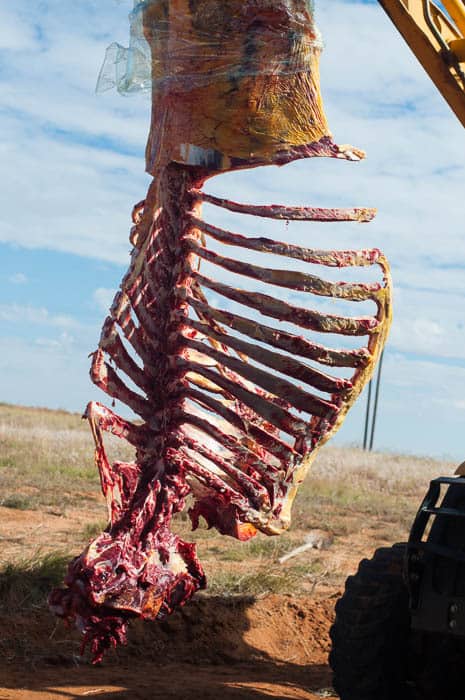
Once the carcass was completely skinned, it was wrapped in plastic and allowed to hang overnight. As you can see, the fat really turned yellow as it dried out.
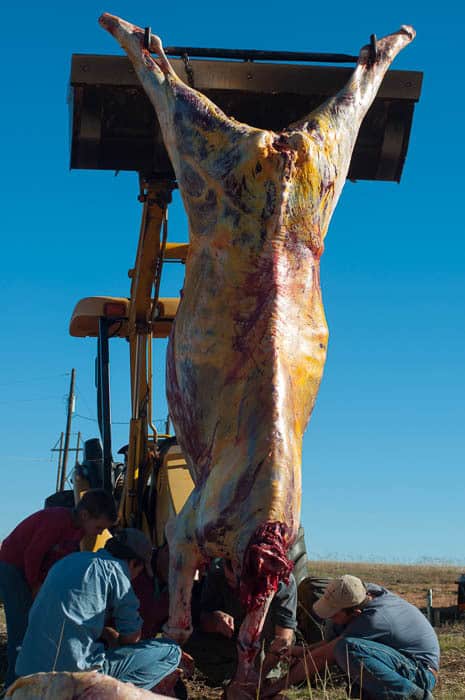
John moved the backhoe (on which Brisket hung) next to the house. We then surrounded it with hog panels (tough, portable fencing) to prevent the dogs from getting to it. But, to be honest, at this point, I think they had had their fill!
Cutting the Meat
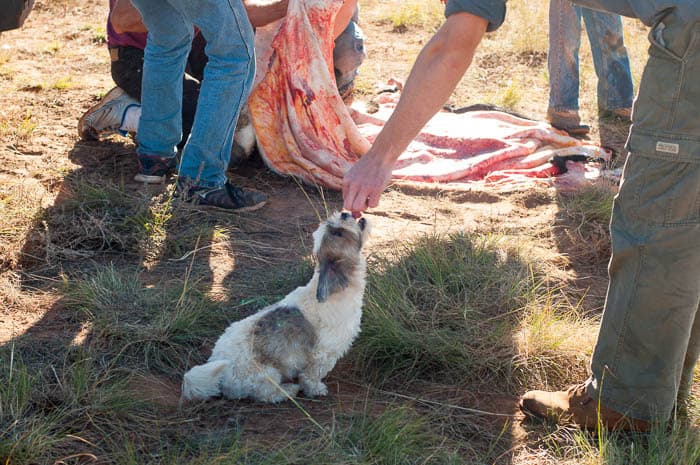
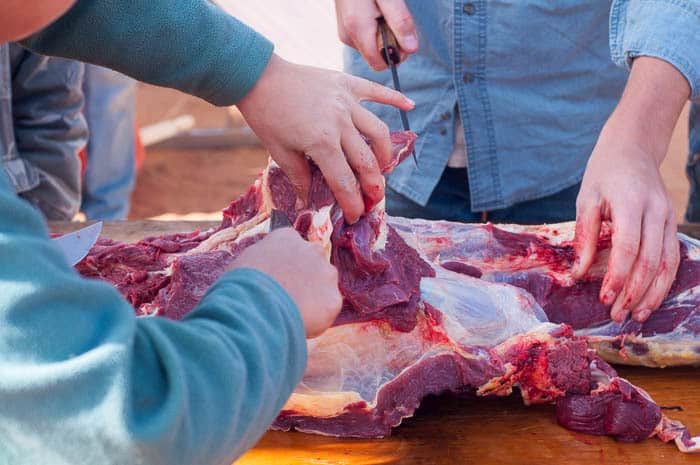
The next day everyone got involved. Tables of plywood on sawhorses were set up right outside the kitchen door. Since we just wanted a few roasts and the rest ground beef, getting started was not too difficult. The boys outside cut the meat into slabs.
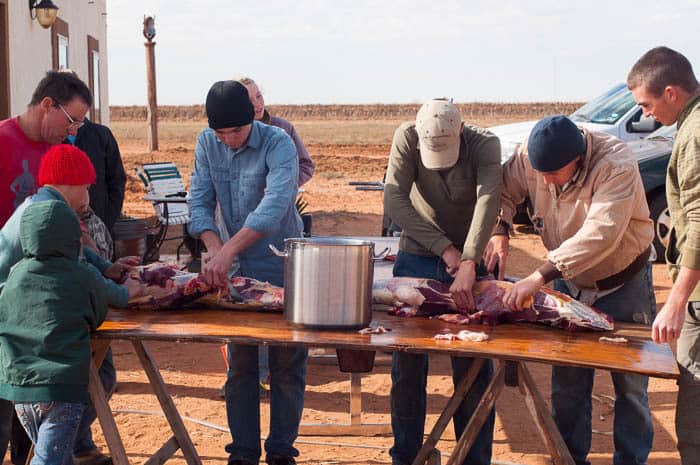
With all this cutting, we only had two surface slices and the corner tip of one thumb chopped! All are healing nicely!
Grinding the Meat
The meat was carried inside and further cut down into chunks that would fit into the meat grinder. We had purchased the commercial grade meat grinder for less than the local butcher shop would have charged us to process our first cow!
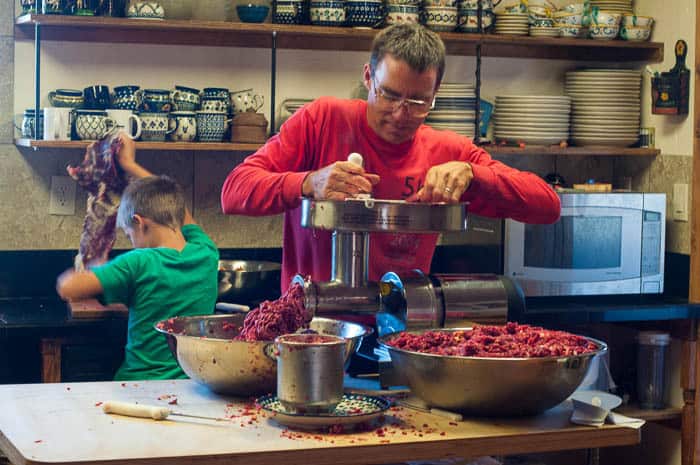
Then came wrapping the portions in plastic and paper. We weighed and labelled the roast packages but all the ground beef was packaged at four pounds.
As the carcass was stripped, the boys cleaned it right down to the bones – much better than last time.
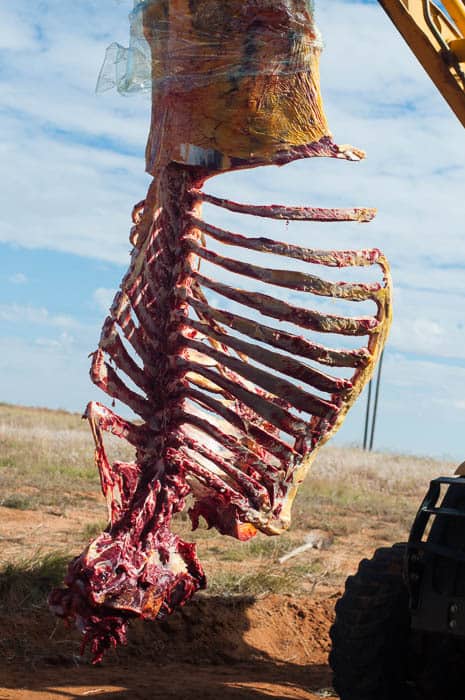
Processing is Complete
So, at the end of Day 2, we ended up with 551.5 lbs. of meat! That includes 85.5 lbs of roast and 452 lbs of ground beef plus the liver, pancreas and heart.
Oh, the intestines? Since nobody wanted to make bologna or hotdogs they were buried in a deep pit.

Cool article. 551 pounds of meat! So what does that work out to cost-wise on a per pound basis?
Jim, we paid $10 for Brisket when he was a calf and he has been on our pasture since being weaned. We did bottle feed and paid about $40 for calf formula – $50 divided by 551 minus the water he drank – very inexpensive meat 😉
A great post. My GSD, Zeke would have been all over the tripe. He is a raw fed dog and like your pup would have supervised the event for scrapes. Looks like you are in for some good eating. If you think about it could you share your recipe for preparing the heart and if you have any creative recipes for the liver that would be great too. Thanks!
Carol, here is the link to the Heart kebobs https://myculturedpalate.com/recipes/preparing-beef-heart-and-heart-kabobs-recipe/
We also really like Liver Páte https://myculturedpalate.com/2012/02/24/liver-pate-recipe/
and
Liver and Onions https://myculturedpalate.com/2012/11/12/liver-and-onions/
Thanks Dina-Marie! I have access to both the heart meat and liver so I will give these a try.
Thank you for such an informative post. Many hands make light work, even though the work is hard. Mainly you just processed into roasts and ground meat? Were cutting steaks… too difficult? We are going to learn how to process our own sheep in a few weeks and I’m looking forward to the learning curve.
Hi Grassfood, good luck with your sheep! The book I linked to also covers butchering sheep. Steaks are not too difficult to cut and we did it on our first steer but, I just tend to use more ground beef. With our family size, the ground beef goes farther 😉
Hi Dina-Marie,
My two year old saw the picture of the heart and made her pretend eating “Eat heart,” she said. We came across a chicken heart in our bag of meaty bones from our farmer’s market. She and I split it, much to her delight. She has been asking for heart off and on sincd!
Thank you for documenting – very informative!
We are vegetarian here–for health not ethics–so this doesn’t help us. 😉 Just wanted to say I love what you named him! lol The old carnivore me is jealous of all that roast! Yum!
Thanks, Arwen!
I will probably never be in the position of needing to process a cow or animal, but this was very interesting to see! Great page!
Thanks, Terence and you never know!
What a fantastic post! I can’t believe you guys got that much meat off of that cow! It looked like a lot of work butchering it, though… but probably well worth it 🙂 This is something I would love to do one day. Thanks for this!
Priscilla, thanks for your encouragement! It is a lot of work but so nice to know how our meat has been raised plus it is very economical!
Hello 🙂 I found this on Pinterest and I had a couple questions…
What type of greens did your pasture have?
Did you feed anything else?
I’m in southern ca so I won’t get cold winters to butcher, is this method still good? Or would it be a different?
Thank you so much 🙂
Kaylee, our pasture is made up of native grasses and other than seasonal grapevines (during pruning) we do not feed anything else. This method would definitely work even in areas where is does not get cold especially if you have a freezer you could put the meat in before processing. Some recommend hanging the carcass in cold storage for up to a month before processing to help tenderize it. Unfortunately, we do not have that luxury and our method has worked very well. Let me know how it goes if you decide to do it.