EIFS Window Trim for the Finishing Touch
 For a chronological listing of our building projects with ICF (or insulated concrete forms), be sure to look through the ICF Building Index tab in the menu bar.
We are getting a wee bit nervous with the warm weather we have been having! With temperatures in the 70°F and even 80°F, the concern is that the grapevines will begin to wake up and bud out. Then, if we have another freeze, this year’s grape crop is killed! But, we know Who is in control of the weather and are trusting Him! In the meantime, we have been working on the EIFS window trim.
EIFS stands for exterior insulation finishing system which is a synthetic stucco and is applied in two parts, the EIFS base coat (the concrete layer) and the EIFS topcoat which is the color coat. Now that all that is finished, it is time for the trim around the windows.
5 Steps to Applying EIFS Window Trim
1. Cut 1/2 inch styrofoam insulation board the desired width of trim. We decided on the width of trim we wanted and cut strips to fit around the windows and doors using 1/2 inch styrofoam insulation board.
2. Apply yellow fiberglass mesh. Yellow mesh that was used in the base coat of the house is cut several inches larger than the styrofoam piece. This lets you wrap it around the insulation pieces and secure it to the back. The yellow mesh is then stapled to the insulation board to hold it securely for the cement coat.
If you have been following awhile, these steps may seem familiar because it is the same process we used in applying the EIFS over our ICF (insulated concrete forms) blocks.
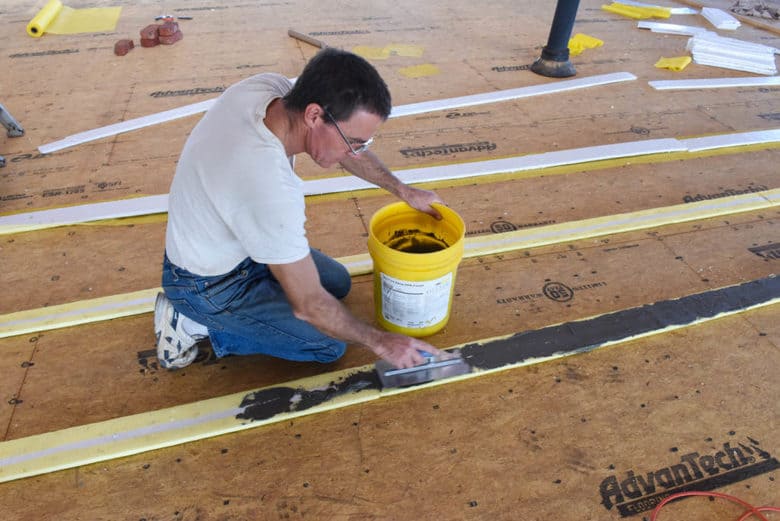
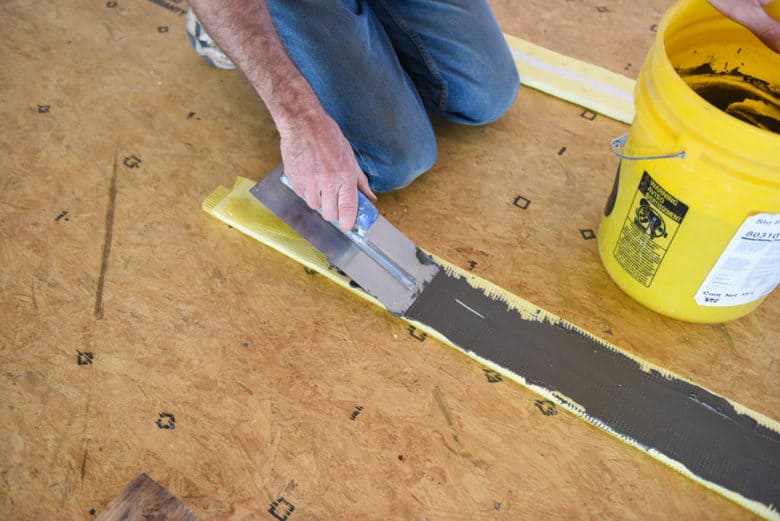
3. Apply the cement or base coat of EIFS to the trim piece. After the yellow mesh is secured to the trim piece, a cement coat is smeared on one side, allowed to dry and the other side is smeared with the cement – just to secure it to the board.
You can see John in the first photo and below with the strips cut and putting the cement coat on with a trowel. The finishing of the cement coat will be put on when the trim pieces are put in place around the windows and doors.
Before each piece is put up, another cement coat is smeared on the back to act as glue and hold the trim piece to the house.
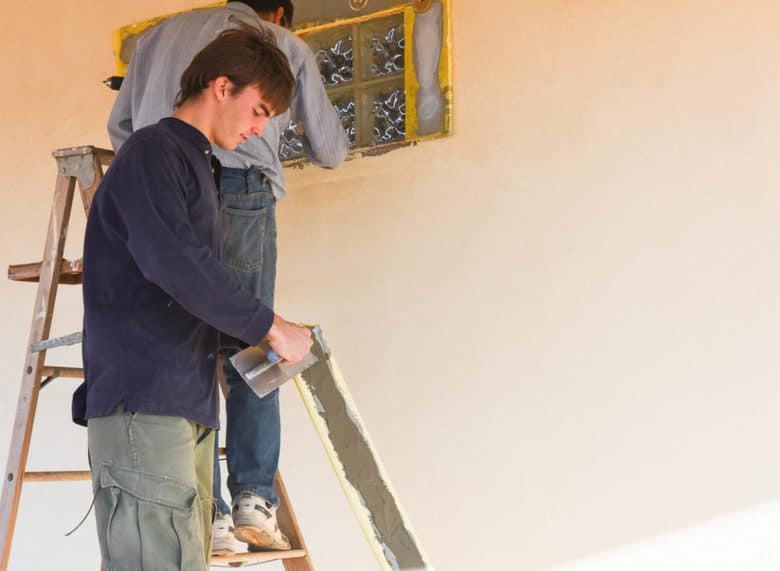
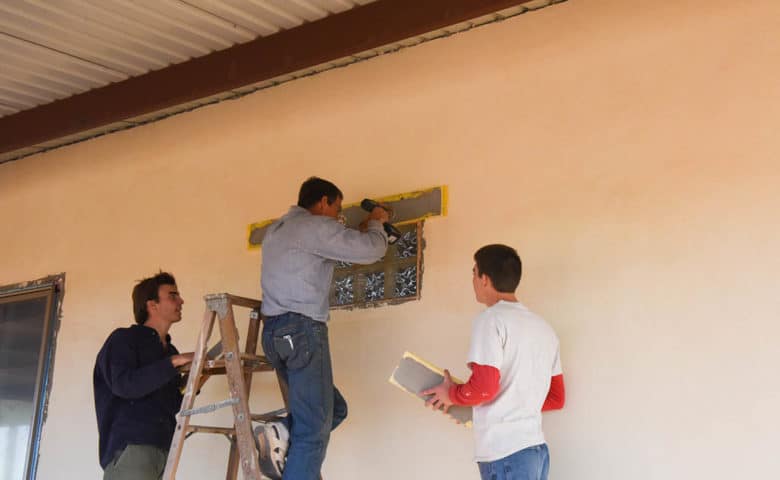
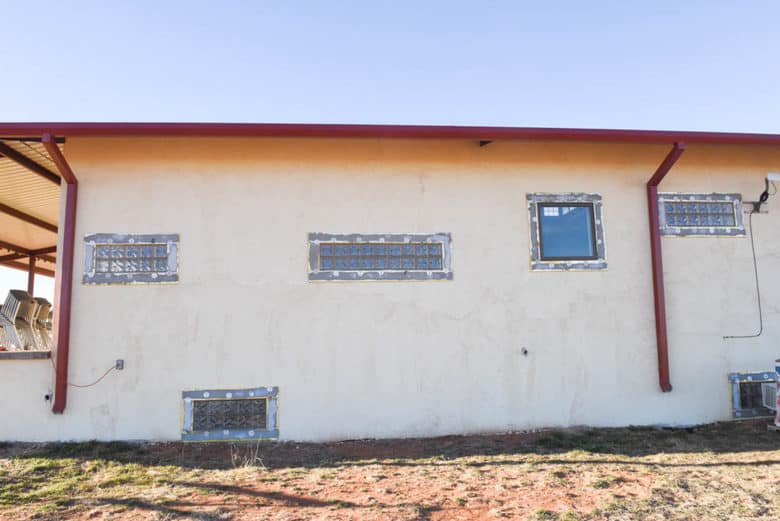
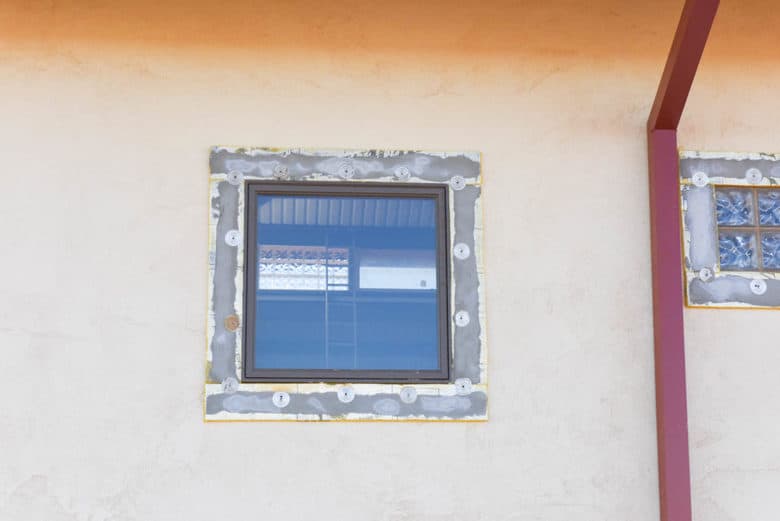
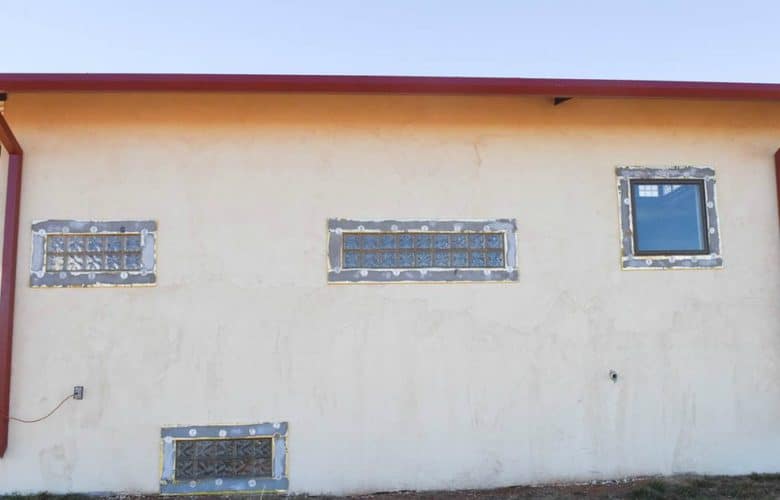
5. Apply the top color coat of EIFS. The color coat is applied using a trowel and smoothing the surface. You can see what a difference it makes with the color coat!
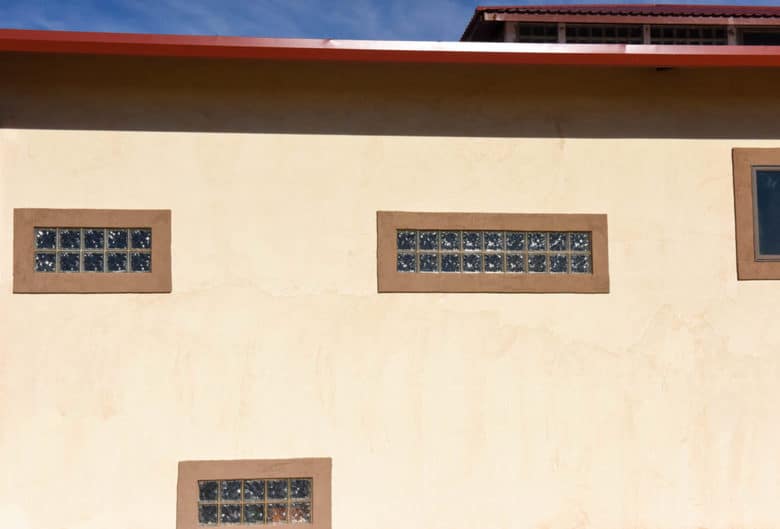
So, I just can’t resist, here is one more of the front of the house.
Except for the EIFS window trim around the top cupola windows, the outside of the house is finished!
Oh, wait, we still have to do the stairs – it would be nice not to have to climb a ladder or venture up cinder-block stairs that are around the side! 😉

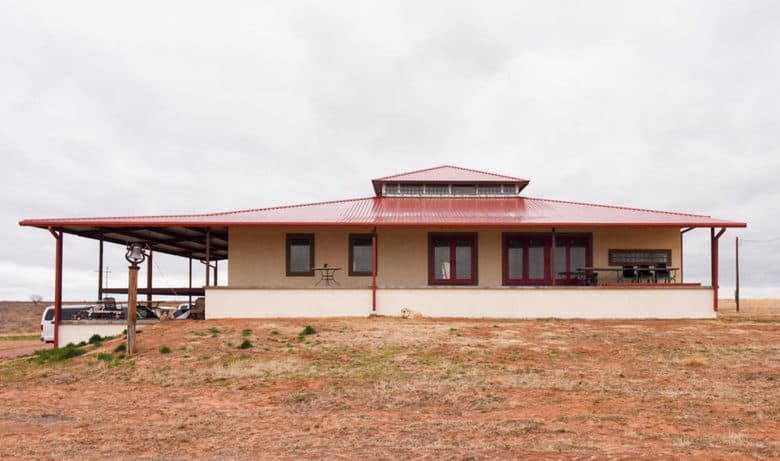
… and the very important bell out front! Looks great.
Thanks, Sue! The bell was from John’s grandfather and is an old train bell. During the growing season, I use it daily to call everyone home for lunch! It is so loud they can hear it across the vineyard. I’m just waiting for the day when neighbors hear it and also come for lunch 😉
I love watching all of your projects! Very impressive! Best wishes as you finish your home….oh wait…..do we ever finish???!!
Haha! Charlotte, you are so right, I think there will always be a “to-do” list!
That looks really nice! Your house is turning out so fantastic!!!
Thanks, Gay, we are excited!